
Appearance
Installation
You need a Laravel app with a Filament panel (php artisan filament:install --panels) and your license email.
Add the registry
Username is your purchase email, password is your license key:
bash
composer config repositories.filamentcraft composer https://packages.filamentcraft.dev
composer config http-basic.packages.filamentcraft.dev you@example.com YOUR-LICENSE-KEY
This writes auth.json. Add it to .gitignore.
Install the package
bash
composer require filamentcraft/filamentcraft
php artisan filamentcraft:install
It publishes the config, migrations, and editor assets, asks to run the migrations, links storage, seeds a published example site, and prints your panel provider path.
| Flag | Effect |
|---|---|
--keys= | int (default), uuid or ulid primary keys. See Models & Keys. |
--no-example | Start without the example site. |
--family= | Style of the example site. See Create a site. |
--no-assets | Skip the editor assets. |
--force | Overwrite previously published files. |
--folio | Scaffold Folio storefront pages. |
Register the plugin
php
use Filament\Panel;
use FilamentCraft\FilamentCraftPlugin;

public function panel(Panel $panel): Panel
{
    return $panel
        ->id('admin')
        ->plugin(FilamentCraftPlugin::make());
}
The sidebar gets a Website builder item.
Create a site
Install already created one: a published site with a header, footer, and seven-section home page, owned by your first tenant when tenancy.owner_model is set. Install skips it when any site exists, so re-running install is safe. Seed another at any time:
bash
php artisan filamentcraft:starter--family= | Look |
|---|---|
modern (default) | Clean, product-led |
editorial | Warm, crafted |
bold | Loud, high-energy |
elegant | Quiet, refined |
bash
php artisan filamentcraft:starter --family=editorial --name="Acme" --owner=1--owner attaches the site to a tenant.
Edit and publish
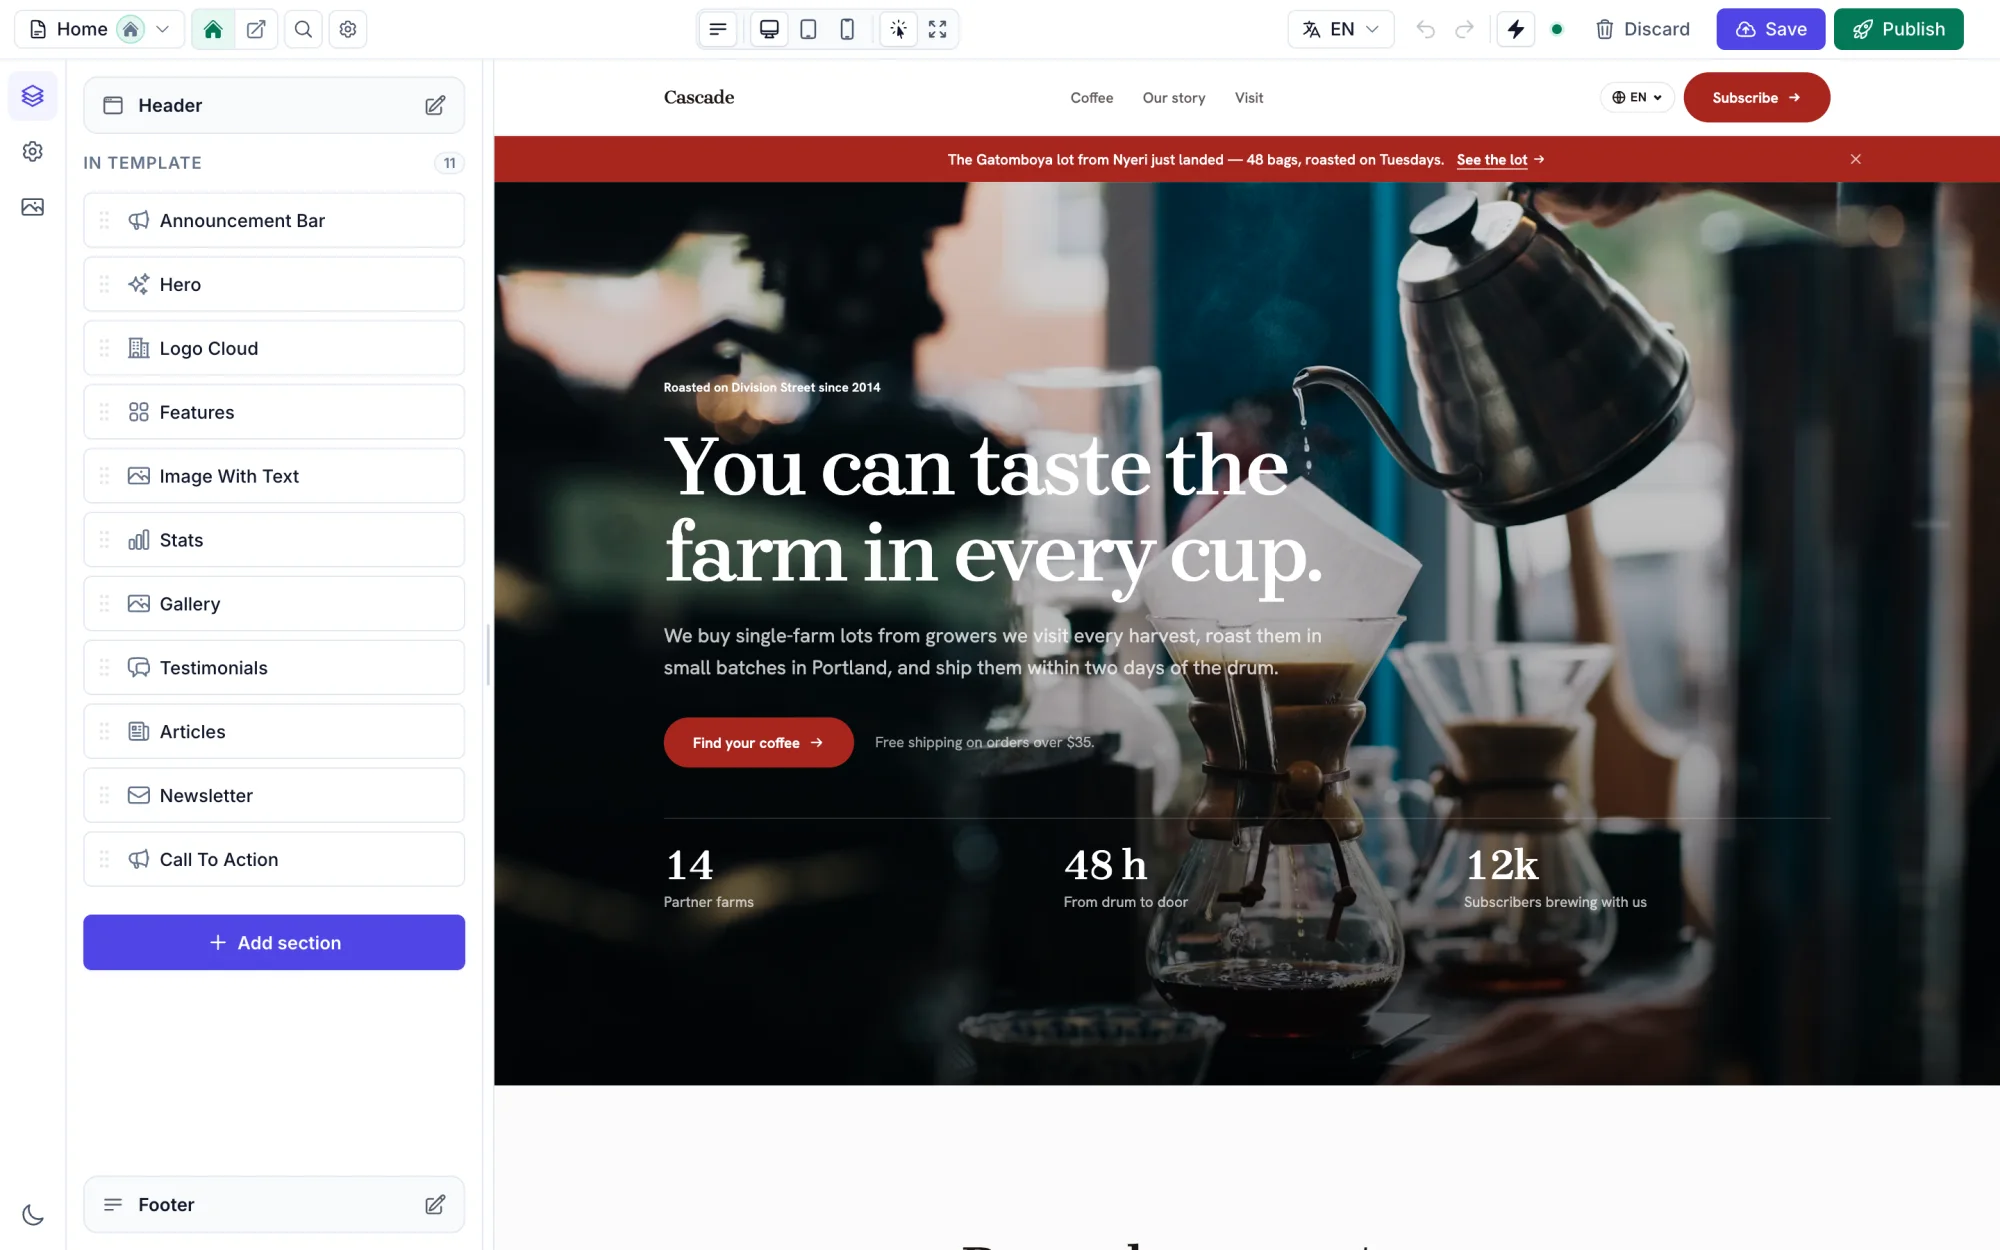
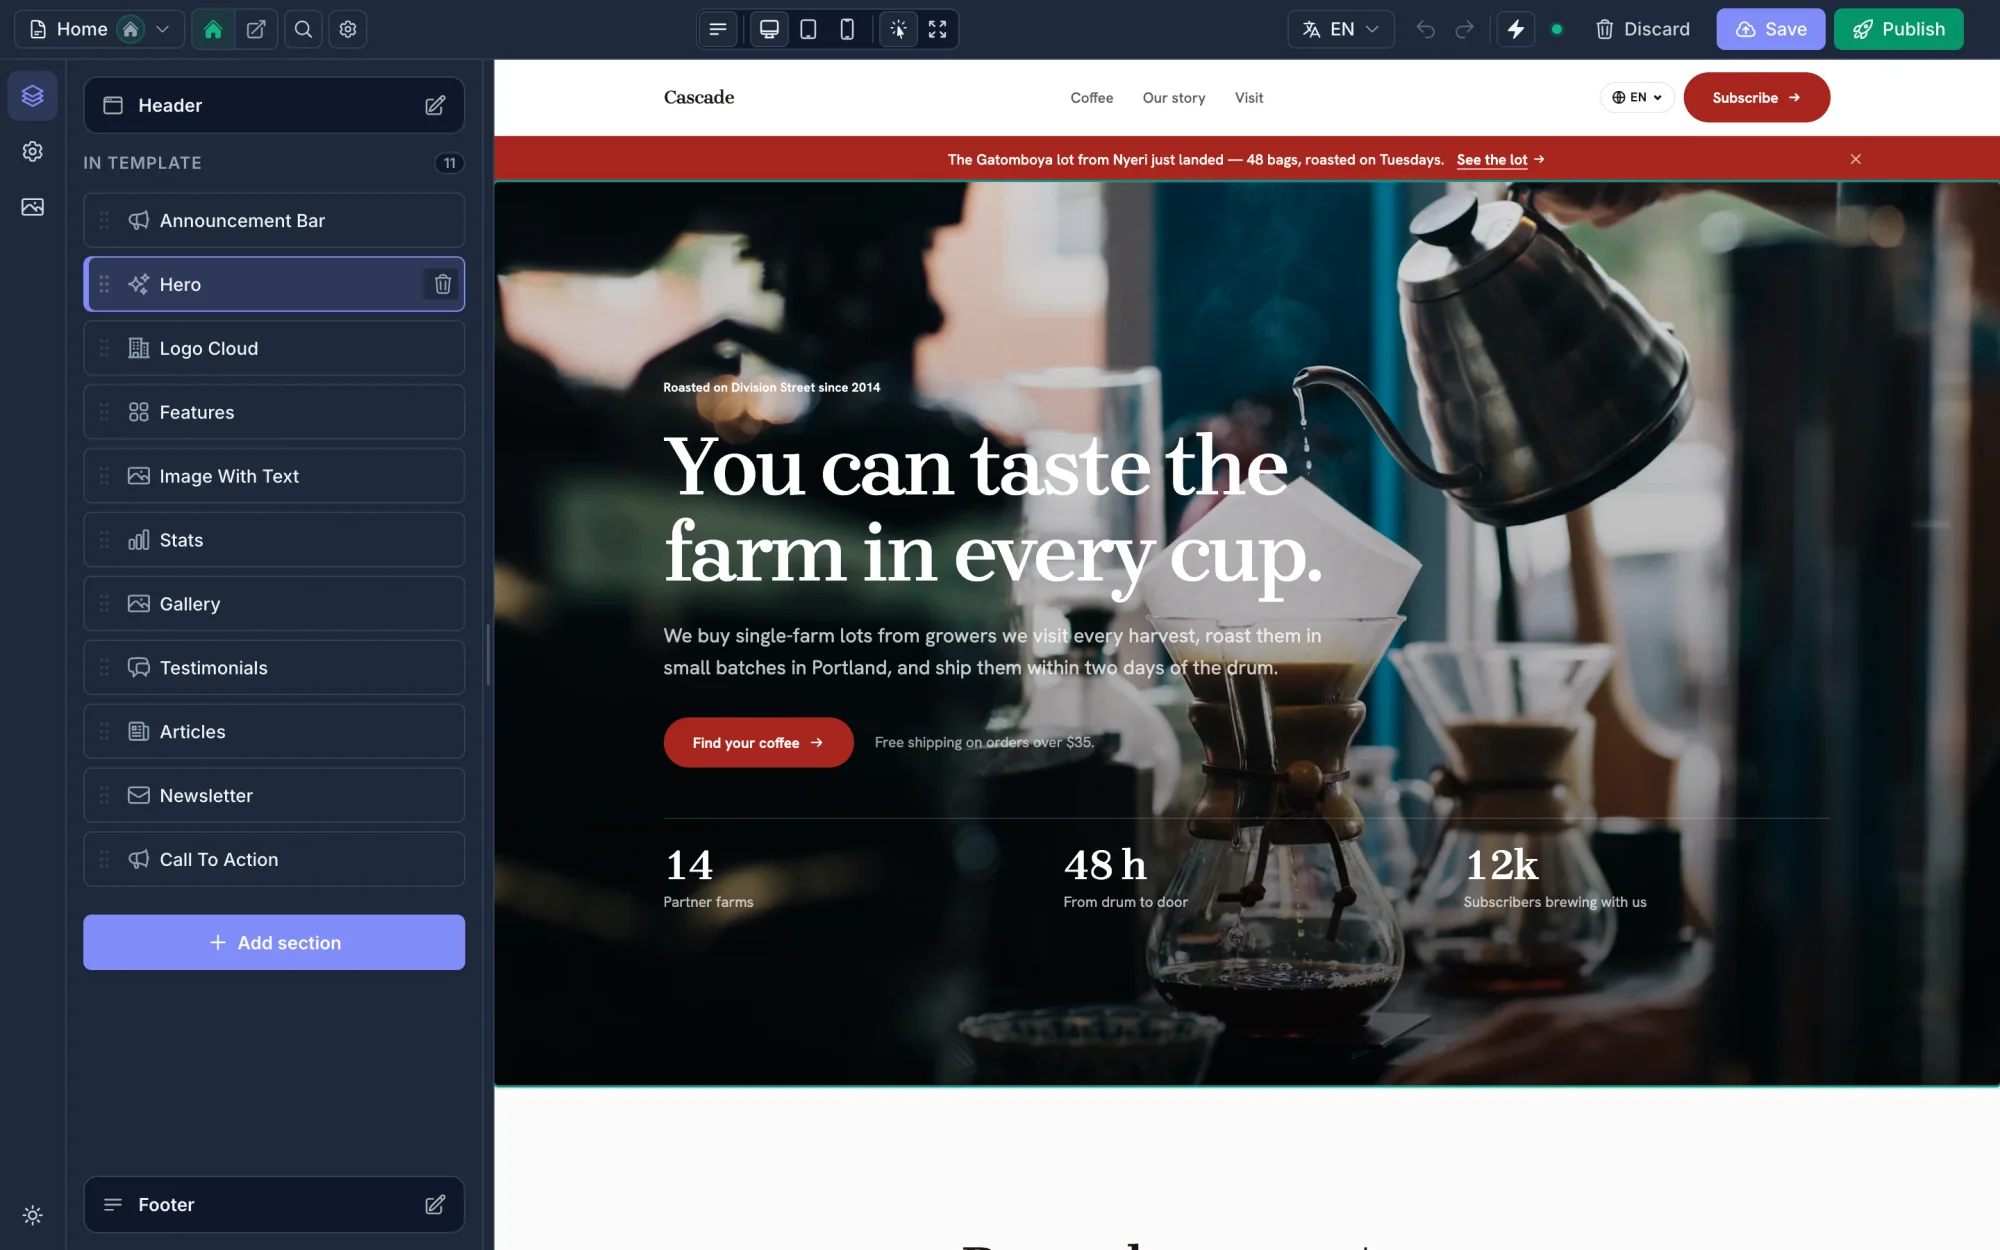
- Open Website builder.
- Click a section to edit it, or Add section for a new one.
- Save stores a draft. Publish makes it live.
Serve public pages
Off by default. Turn it on:
php
// config/filamentcraft.php
'public_routes' => true,
Delete the Route::get('/', …) welcome route in routes/web.php. Domains and URL schemes: Public Routing.
Check the install
bash
php artisan filamentcraft:doctorChecks migrations, themes, sites, assets, and panel wiring, and prints the fix for each failure.
License key
dotenv
FILAMENTCRAFT_LICENSE_KEY=your-license-keyWithout it everything works, but public pages show a "Built with FilamentCraft" link. Hide the link without a key using FilamentCraftPlugin::make()->softLicense(false).
Deploying
bash
# Credentials: site → Settings → Composer → Add credential (packages.filamentcraft.dev)
# Deploy script, after the migrate line:
$FORGE_PHP artisan filamentcraft:upgrade
yaml
- run: composer install --no-interaction --prefer-dist
  env:
    COMPOSER_AUTH: '{"http-basic":{"packages.filamentcraft.dev":{"username":"${{ secrets.FILAMENTCRAFT_EMAIL }}","password":"${{ secrets.FILAMENTCRAFT_KEY }}"}}}'
bash
export COMPOSER_AUTH='{"http-basic":{"packages.filamentcraft.dev":{"username":"you@example.com","password":"YOUR-LICENSE-KEY"}}}'

composer install --no-dev --no-interaction --prefer-dist --optimize-autoloader
php artisan migrate --force
php artisan filamentcraft:upgrade
Run filamentcraft:upgrade on every deploy: composer update doesn't publish new migrations or assets. See Upgrading.
Common problems
Composer returns 401 or 403
Wrong email or key. Re-run the composer config http-basic… command. On a server, check that COMPOSER_AUTH is valid one-line JSON.
Editor looks unstyled or outdated
Run php artisan filamentcraft:upgrade and hard-reload.
My sections are missing Tailwind classes
Add them as @source paths. See Styling & Tailwind.
"Open live page" points to localhost
Set APP_URL in .env.
Home page shows the Laravel welcome page
Delete the welcome route, set public_routes to true, and publish a home page.
Uploaded images don't show
Run php artisan storage:link.
Configure the panel
Show the admin tables
php
FilamentCraftPlugin::make()
    ->showAdvancedResources()
Adds Stores, Pages, and Designs to the sidebar.
Rename the sidebar items
php
FilamentCraftPlugin::make()
    ->navigationGroup('Website')            // default: "Content"
    ->navigationLabel('Site editor')        // default: "Website builder"
    ->sitesNavigationLabel('Sites')         // default: "Stores"
    ->templatesNavigationLabel('Templates') // default: "Pages"
    ->themesNavigationLabel('Themes')       // default: "Designs"
For translated labels, publish filamentcraft-translations and edit the navigation.* keys.
Limit who can use the builder
php
use Illuminate\Contracts\Auth\Authenticatable;

FilamentCraftPlugin::make()
    ->canAccessUsing(fn (?Authenticatable $user): bool => $user?->can('use-website-builder') ?? false)
Returning false hides the builder and makes all its routes return 403.
Your own sections
Need a block the catalog doesn't have? Make one:
bash
php artisan make:filamentcraft-section Testimonial          # new section: PHP class + Blade view
php artisan filamentcraft:customize-section hero MyHero     # copy a built-in and change it
Register with ->discoverSectionsIn(app_path('Sections')) on the plugin. Or build sections without code in the Section Builder. Full guide: Custom Sections.